Showing posts with label bulletin board. Show all posts

Tuesday, July 22, 2014

Two for Tuesday & Final Hours of Giveaway

Wow. What a day! I forgot to link up this morning and then spent some time up at school! What a mess! I'll post about that later!

http://www.theteachingtribune.com/2014/07/two-for-tuesday-72214.html
Here are the 2 products I am putting up for 50% OFF today and tomorrow, since I am so late!

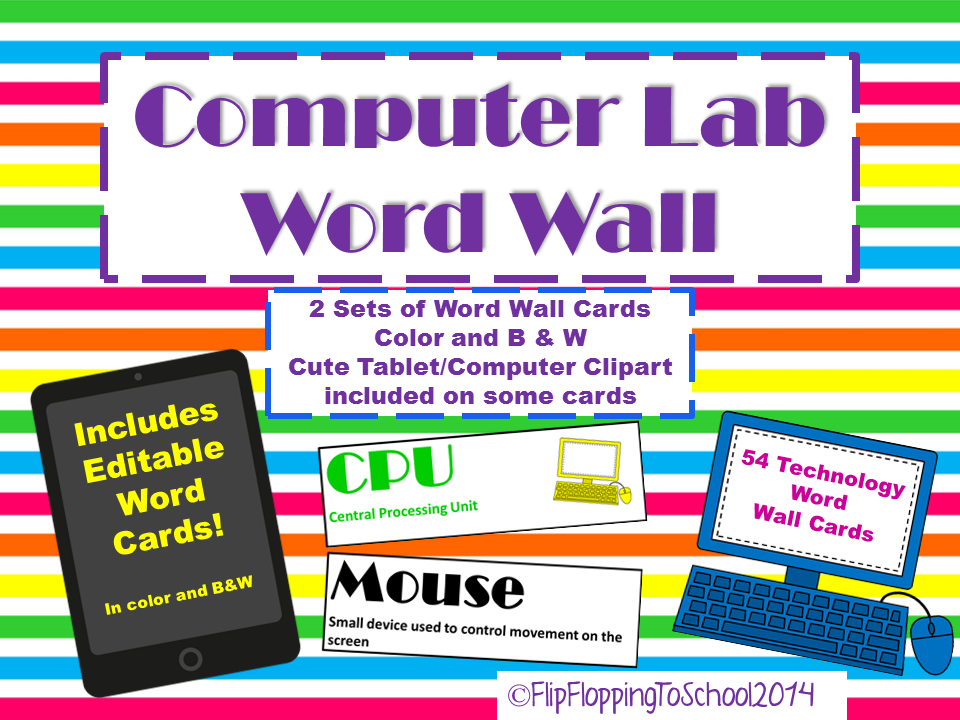
http://www.teacherspayteachers.com/Product/Computer-Lab-Technology-Word-Wall-Cards-1334117
My new Computer Lab Word Wall! Its only $2! Easy to print in color or black and white. These are used in our schools computer lab so the kids can learn some technology words! It goes along with my Giant Keyboard Project.
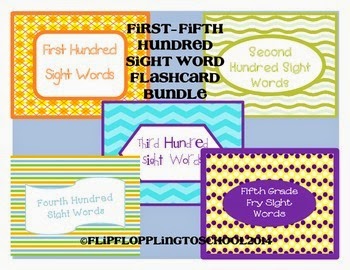
http://www.teacherspayteachers.com/Product/Sight-Word-Bundle-Fry-Hundred-Flashcards-1299557

Second, is my Sight Word Bundle, on sale for $5. These are so great for use in guided groups and for struggling readers. I plan to use all the sets in my 3rd grade classroom so I can reach struggling readers, on grade level, and above grade level readers.

There are a few hours left of my Giveaway. Click below to go to the post and enter! You can win my Road Trip Bundle!!
http://flipfloppingtoschool.blogspot.com/2014/07/monday-made-it-and-my-first-giveaway.html


Tuesday, July 15, 2014

Two for Tuesday

http://www.theteachingtribune.com/2014/07/two-for-tuesday-71514.html
Trying out this linky I found today! Looks like fun! Thanks to Martha at the Teaching Tribune for hosting! I am going with a Reading theme today!

Here are the 2 products that I have put on sale for 50% for today!
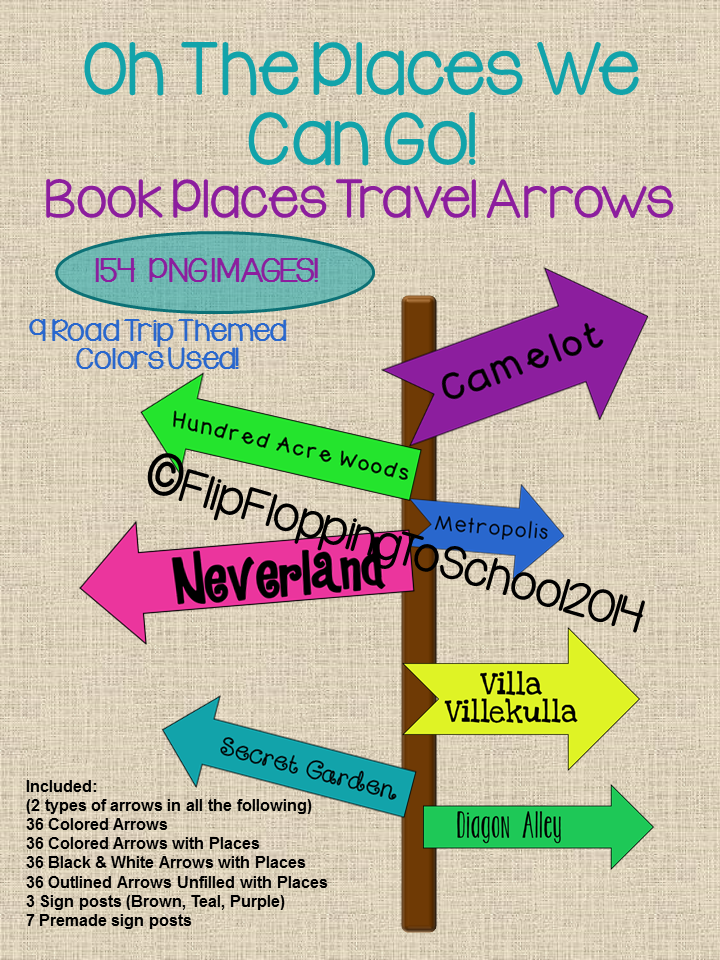
http://www.teacherspayteachers.com/Product/Book-Travel-ArrowsSigns-Clipart-for-Road-Trip-Theme-1324053

http://www.teacherspayteachers.com/Product/Book-Travel-ArrowsSigns-Clipart-for-Road-Trip-Theme-1324053
The first is a new product I finished up yesterday. I'm so pumped about this one. I am going to print and laminate these today!

What I'm using them for:
-I saw a large wooden sign created with book places on Pinterest. I haven't got around to that yet, looks like it will take a lot of work. So I created my own book places clipart to use in my classroom!
-I am going to print out the colored arrows pretty large and laminate them. Then I am going to attach them to a long piece of construction paper for the sign post. This is going to look great in my classroom library!
-There are some ready made sign posts for you to use as well!
-I am also going to use them for library activities as clipart!

Next up, my Story Map Cards.
Included in this set are Story Map cards and What's the Big Idea cards.

What I use them for:
During small guided reading groups I use these for the stories we are reading. I just assign each student a box and a sticky note and they have to record the needed information. (I usually rotate boxes so that each student gets to do all the boxes) it really gets them into the story because they know they will be assigned something to write about. You could also color code the sticky notes to a specific group so that you can leave them up! My students loved this last year. I don't know what it is about sticky notes but they are always excited to use them!

Here is what it looked like in my room last year! 
That's it for today! I have already found things I need to purchase!

Happy Tuesday!


Monday, June 23, 2014

Monday Made it June 23rd

I am back for the next Monday Made It. This really helps me get some things done during the summer while still relaxing!
 
 
  I have to tell you about my find! I usually make a point to watch Shark Tank occasionally. And they made a deal for a new product called GrooveBook. It is awesome! For 2.99 a month it will send you 100 photo prints from your phone! I NEEDED this. I have been taking so many picture of my son that I would never keep up with printing them! Here's a picture of the app, check it out! I will post again when I get my pictures in the mail!


I was looking through some of my Back to School items and decided to whip up a Freebie for an activity I use during the first week of school. I love how it goes with my Road Trip Theme! Unfortunately, I didn't take pictures of my students' work last year when we did this activity, but I think you'll get the idea! Click the picture to grab a copy!
 
http://www.teacherspayteachers.com/Product/Summer-in-My-Rearview-Back-to-School-Activity-1288433
 
 
That's all I have for today! Hopefully next week I'll have some pallet projects to show! I'm obsessed!
 
Have a great day!


Sunday, August 11, 2013

Monday Made it August 12th

I can't believe it is Monday again! Back for my first full week of school! My kids start Thursday! Ah.. so much to do! But I love how this linky keeps me motivated! Click below to link up!


This last weekend we hosted my friend's bridal shower! So this has been a easy DIY go-to gift for brides! I have made it 3 times now! And the funny thing is they all had to same color of kitchen, green! Weird!

1. Gather materials. A frame, flower, a piece of scrapbook paper, and letter for their last name from Michael's. And a piece of kitchen tile from Home Depot! I went with a cheap neutral color for the tile.
2. Take out the glass from the frame, you don't need it.
3. Hot glue the scrapbook paper to the cardboard backing from the frame. Attach it to the frame. I put some hot glue on the back in each corner to hold it because there was a gap where the glass should be.
4. Then it's time to glue the tile to the paper. I had to use Wood Glue that I found in the garage because hot glue did not work!
5.  Next, glue your letter to the tile with the same wood glue.
6. Add your flower! Voila! Perfect bridal shower gift!


I have a major scarf addiction! My scarves were ALL over our closet and I could never find them. I saw this great picture on Pinterest and thought I would give it a try. All I got was 2 bathroom towel rods and shower curtain hooks! I just put one scarf in each curtain hook. And holy cow they look great! I can see them all! I think I have a problem... I have 32!
 
 
And last but not least a couple of things I finished up at school! I wanted a new jobs chart. So I created my jobs and printed them out on colorful paper. I think I'm going to love how easy it will be to switch jobs around with these clothespins!
And here is my Math Calendar Board. I am so excited to try this! I bought the beginning pack from Terri Thorton at the Creative Apple. See it here. I think it will be a great addition to my guided math centers.

Thanks for stopping by! So excited to see everyone else's Monday Made Its!


Monday, August 5, 2013

Monday Made it!

I am linking up with Tara over at Fourth Grade Frolics for this fun linky!


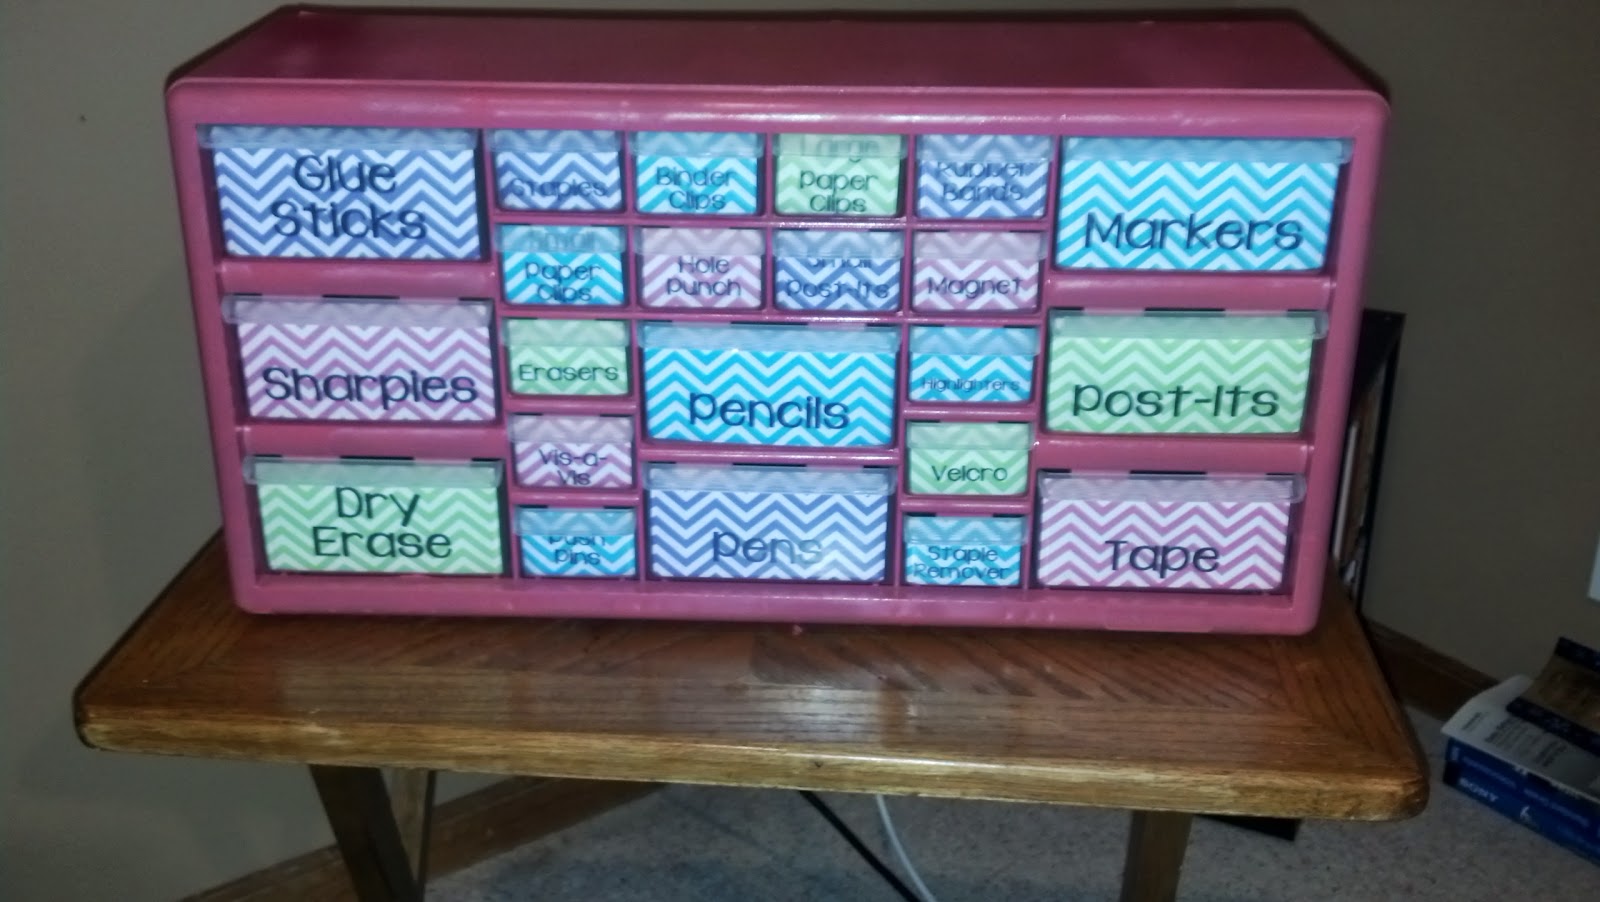
Hello Teacher Toolbox!
So excited about this. Head over to Fun in Room 4B to get the free template!  So easy to make. First, I sprayed painted the ugly gray plastic with bright pink! Then all I did was tweak the labels to fit my needs and printed them out on my cute Chevron paper! And done!
 

The next thing I finished up is something my teammate and I put together last spring for our computer lab! It was so boring before we jazzed it up! My favorite part of it is the GIANT KEYBOARD! AHH!
 I found this great idea for a giant keyboard here.
Here is our finished project! The kids LOVE it! (Almost too much, we had to tell them not to actually punch the keys!)

Here is what we did:
First, we got some take out containers and cut them in half. (Thanks to my brother and our neighborhood restaurant for the donation!) We used about 74 halves. So maybe ask for them to donate about 40 boxes.

Next, we needed to make our letters and numbers. This proved to be the most time-consuming part of the whole thing! So I decided I would put them together in one document for you! Click here to get it from my store! I have a colored version and black and white version. We do not have access to a color printer we used regular construction paper and cut it so it would fit in our copier!

After we printed them out, we cut and laminated them all. See below.

Now we were ready to put it together. We started from with the second row from the bottom because we did not have to cut any of the boxes! After putting up some butcher paper behind, we stapled the "keys" to the wall first. For some boxes we used 1.5 boxes or 2.

 
Then it was time for the fun part! We got some extra sticky glue from our art teacher and began sticking them up! I had to use tape on the corners to keep the paper on until it dried. **Hint. I would suggest laminating the keys that have several pages together, like the space bar, so it is easier to glue to the boxes. (You will see I have a few I need to fix!)
How cute is this!?

SOO I decided to put all of this work into one document for sale on my TPT store! It will be so easy for you to print out and put up! It even has directions!


 I also got started picking out Math Vocabulary for this great word wall! Thanks Run! Ms. Nelson's Got the Camera! See my word wall post here.


AND I saved the best for last!
The last thing I have figured out how to do is throw a Sale at my TPT store! Since its my last few days before I head back to work I figured this is a good way to end my summer! Check out my store for all my fun creations at 15% off! My new Giant Keyboard Project is on sale too!

Thanks for stopping by!


Tuesday, July 30, 2013

Classroom Makeover Day 2!

So I got myself up to school again today and actually spent 4 hours there! I still have some organizing to do but I feel good with where I am at! So I decided to link up with Kimberlee for Teacher Tour Tuesday!
Here are some pictures of it today!
Here is my Homework Club Board! Finally got it hung up! Yay! For the free numbers visit my TPT store!

 This is my library so far. I love my Boggle board for making words!
 
 This is something new I'm going to try this year. This board is right behind my guided reading table. I saw this idea on Pinterest but no one to credit! I made my own labels in my colors and plan to use sticky notes for each guided reading group! I'm hoping it will keep that time more structured! If you want to purchase this set check out my TPT store.

This is outside my door! Thanks to my Cricut it was easy to cut my states! 

View down the middle of my classroom! 
 
I want to use this as a math/reading center tower that I can switch around every 2 weeks. I want to differentiate the activities for my kiddos. Let me know if you have any great ideas!

AND FINALLY! I made a Teacher Toolbox for my desk! Love! I haven't found the perfect spot for it yet but I will.  I bought this lovely at Orscheln's, my husband's favorite store. I spray painted it pink. Thanks to Fun in Room 4B for the free template. I just changed to the words I wanted and printed it on my fun Chevron paper!

Woohoo! I think I am close to being done going in before I have too. Now to enjoy the last few days of summer before we are back next week!

Can't wait to see lots of rooms coming together!